Guides
How Canadian gutter installers size eavestroughs under the National Building Code
Eavestrough sizing in Canada starts with rainfall intensity and design flow, then the NBCC, provincial codes and municipal bylaws decide the rest.
What to take away
- The National Building Code of Canada sets the outcome, not the trough size. Provinces adopt it with amendments, and that adopted version is what your inspector enforces.
- Design flow, in litres per second, is rainfall intensity multiplied by the roof area draining to one outlet. It is the number a trough and downspout must carry.
- Manufacturer capacity tables relate profile, slope and run length to flow. Match the table figure to your design flow, then keep the page in the job file.
- The National Plumbing Code of Canada takes over once water leaves the roof edge. A below-grade leader crosses into plumbing scope and often into municipal bylaw territory.
- CSA A123.21 is a wind uplift standard for roof systems. Where it applies, the test report is a document you hand an inspector instead of an opinion.
Where the National Building Code of Canada sits in gutter sizing
The NBCC is the model code. Provinces adopt it, sometimes with amendments, and the adopted version is what your local authority having jurisdiction enforces. An installer in Halifax and one in Kelowna work from the same parent document, not the same clause numbers.
Roof drainage sits inside the code's building envelope and structural provisions. The code requires that roofs drain and that drainage not damage the building. Eavestrough sizing is one input into that requirement, not a standalone chapter.
You will not find a table that says "use a 5-inch trough on a 1,200 square foot roof in Winnipeg." You find performance language, referenced standards, and an expectation that someone did the arithmetic.
The National Research Council Canada publishes the code and its referenced documents. Check the current edition for NBCC roof drainage and eavestrough sizing provisions before you quote.
The practical translation: the code sets the outcome, referenced standards and manufacturer listings set the method, and the inspector checks that the two agree. A quote that says "code compliant" with no capacity figure behind it shows nothing at the counter.
A second layer sits underneath. The National Plumbing Code of Canada covers storm drainage once water leaves the roof edge, including how downspouts connect to a building storm system. Gutter work that stops at the splash block stays in building code territory. Work that ties into a storm sewer crosses into plumbing code, and often into a municipal bylaw.
Federal statutes and code references are indexed through the Justice Laws Website, useful when a client or a lawyer asks which instrument applies. It settles whether a document exists. It is no substitute for the provincial adoption.
Before you quote a job, be clear about how your business is set up to operate legally in the province where you work.
Roof drainage capacity: rainfall intensity and design flow
Rainfall intensity is the starting number, expressed as a depth of rain per unit time, and it varies by region and return period. A 15-minute intensity for a 10-year storm in St. John's is not the figure for Penticton. Coastal British Columbia, the southern Prairies and Atlantic Canada load gutters differently.
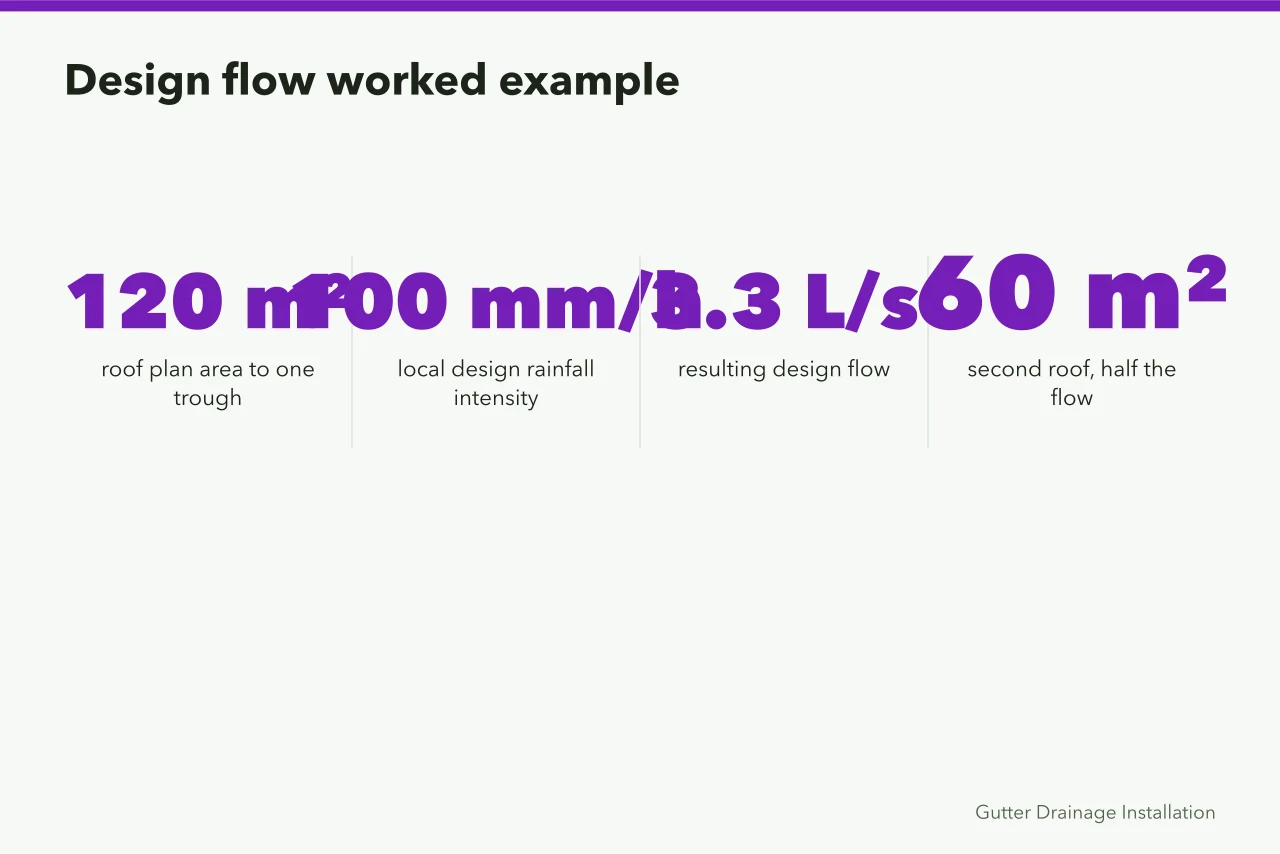
Design flow is intensity multiplied by the roof area draining to a given outlet. That figure, usually in litres per second, is what the trough and downspout must carry. Two roofs of equal area produce different design flows when the rainfall intensity differs.
A worked example. Take a gable roof with 120 square metres of plan area draining to one eavestrough. At a local design intensity of 100 millimetres per hour, the design flow is roughly 3.3 litres per second. A second roof of 60 square metres at the same intensity carries half that.
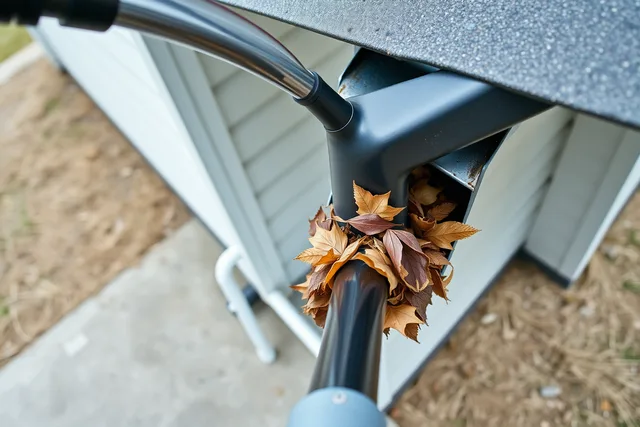
Roof geometry changes the number again. A steep roof sheds water faster than a shallow one, and a valley concentrates flow at one point. Valleys, dormers and inside corners are where undersized troughs fail first, usually in a summer downpour rather than a spring melt.
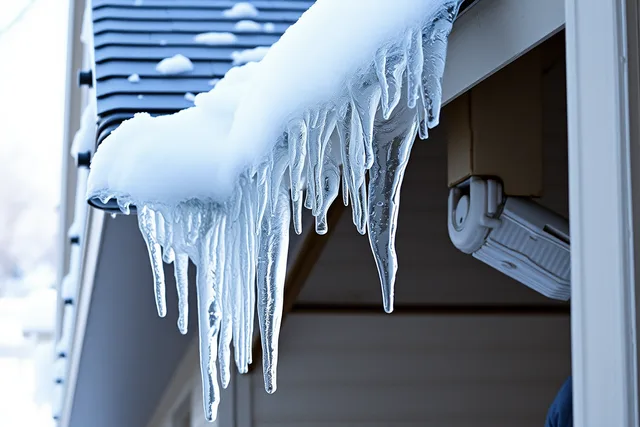
Snow and ice belong in the same conversation. Meltwater arrives in bursts when a warm front follows a cold snap, so a trough sized only for summer rain can be overwhelmed in February. Freeze-thaw movement and ice damming are recurring inspection topics in Ontario, Quebec and the Prairies.
Housing data shows where the work is. Statistics Canada publishes housing statistics and building permit data, a reasonable proxy for where eavestrough demand is growing.
Eavestrough sizing tables: cross-section, slope and run length
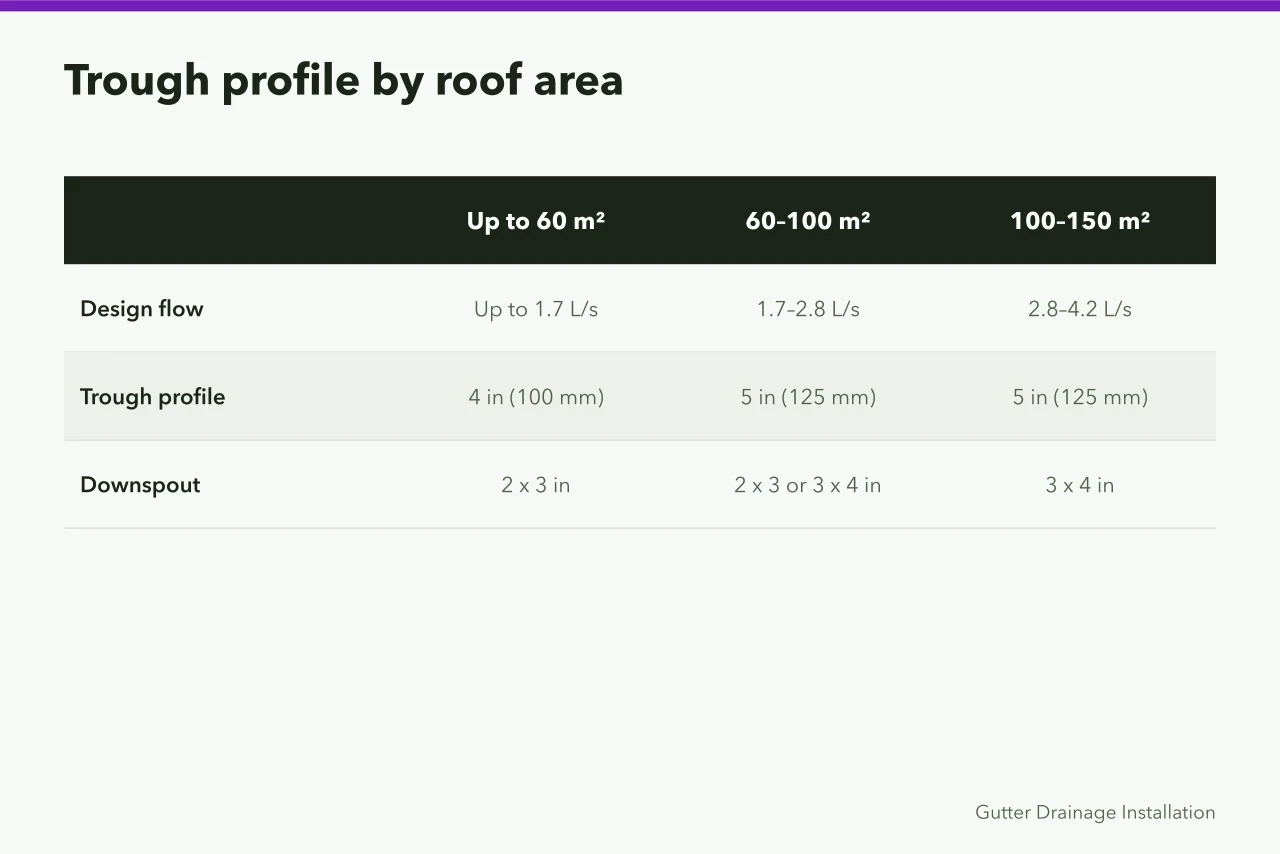
Manufacturer capacity tables are the practical tool on site. They relate trough profile, developed width, slope and run length to a flow rate. Match the table figure to your design flow, with margin.

Slope is the variable installers argue about most. A dead level trough ponds and then overflows at the low end.
Too much slope looks wrong from the street and can pull the trough away from the fascia. The common working range runs from about 1 in 600 to 1 in 350.
Longer runs on shallower profiles generally take more slope rather than less.
Run length matters because water gains velocity and depth as it travels. A 10-metre run and a 30-metre run on the same profile do not carry the same flow at the same slope. Long runs need a larger profile, more slope, or an additional downspout partway along.
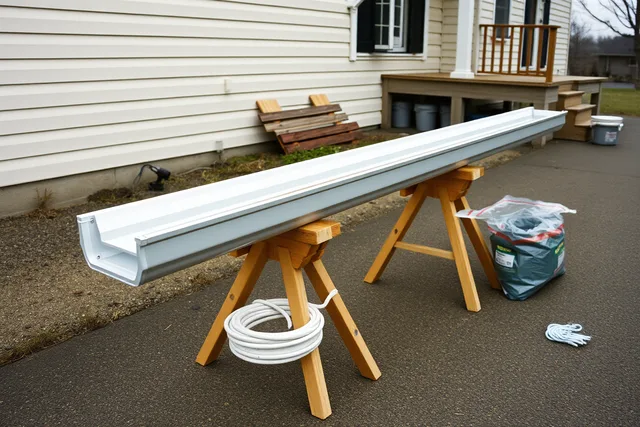
Cross-section is more than width. A deeper trough carries more than a shallow one of the same width, and a rounded bottom moves water better than a flat one. Hangers and brackets matter too: a trough that sags between hangers loses both its slope and its capacity.
| Roof plan area (m²) | Design flow at 100 mm/h (L/s) | Typical trough profile | Suggested downspout |
|---|---|---|---|
| Up to 60 | Up to 1.7 | 4 in (100 mm) | 2 x 3 in |
| 60 to 100 | 1.7 to 2.8 | 5 in (125 mm) | 2 x 3 in or 3 x 4 in |
| 100 to 150 | 2.8 to 4.2 | 5 in (125 mm) | 3 x 4 in |
| 150 to 220 | 4.2 to 6.1 | 6 in (150 mm) | 3 x 4 in, two outlets |
| Over 220 | Over 6.1 | 6 in or larger, engineered | Engineered, multiple outlets |
The table is a starting point, not a substitute for the manufacturer's published figures. Use the profile you are installing, at the slope you are building, and keep the page in the file. A written operating standards document turns those choices into something a crew can repeat.
Downspout sizing and discharge points under the National Plumbing Code
The National Plumbing Code of Canada picks up where the trough ends. It deals with storm drainage, including the size and connection of downspouts and how storm water leaves the building. Its storm drainage and downspout connection requirements are what a plumbing inspector cites when a downspout ties into a building drain.
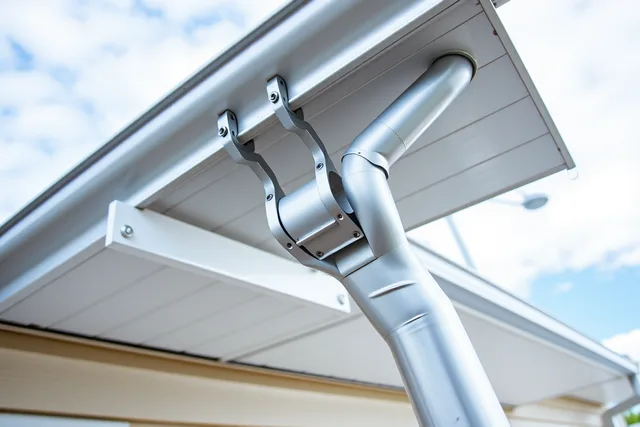
Downspout capacity follows the same logic as trough capacity. A rectangular 2 by 3 inch downspout carries less than a 3 by 4 inch, and a round downspout of the same nominal size behaves differently again.
One downspout serves roughly 9 to 11 metres of trough as a rule of thumb. That figure moves with rainfall intensity and roof area, so treat it as a check rather than a design.
Discharge point is where inspections get interesting. Options include a splash pad at grade, a below-grade leader to a storm sewer, a rain barrel, or a dry well, and each carries its own requirement. A below-grade connection needs a backwater valve in many jurisdictions and must not tie into a sanitary sewer.
Municipal stormwater bylaws decide the rest. Toronto and Vancouver both restrict what may enter the storm system, and many municipalities require downspouts to discharge onto a permeable surface or at least away from the foundation. Downspout disconnection is a common retrofit requirement in older neighbourhoods.
Documentation for downspout discharge should include the discharge point on a site plan, the pipe size and material, the backwater valve listing if one is required, and the municipal approval or bylaw reference. A photo of the finished connection with a tape measure in frame saves a return visit.
Where your work crosses into plumbing, know where your licence ends. The permits a gutter service business needs vary by province and municipality, and storm connections are often restricted to licensed plumbers. Getting that boundary wrong is expensive.
CSA A123.21 and the references inspectors actually cite
CSA A123.21 is a standard for roofing and related installations, and it turns up in inspection conversations about how roof-edge components are tested and installed. It covers wind uplift resistance for roof systems, which is why it appears in discussions about eavestrough and fascia attachment in high-wind areas.
The practical value is the test report. When a trough or its fastening system has been evaluated under the standard, you hand the inspector a document instead of an opinion. Coastal British Columbia, Atlantic Canada and the southern Prairies all see wind events that make attachment a real question.
Other references show up alongside it. The code references manufacturer installation instructions, and those instructions carry real weight. Local amendments may add snow load or ice damming provisions, and some provinces reference plumbing or building standards that differ from the model code.
The inspector is not usually hunting for a clause number. They want evidence that the installed system can do the job in the climate where it sits: capacity figures, attachment details, slope measurements and a discharge plan.
Keep a reference sheet in the truck: the current NBCC edition, the provincial code, the CSA standard, and the manufacturer's tables for the profiles you install. When a homeowner asks why the quote is what it is, that sheet is the answer.
Provincial code variations from Ontario to British Columbia
Ontario and British Columbia are the two markets installers ask about most, and both depart from the model code in ways that matter.
Ontario adopts the NBCC through its own building code, administered under the Building Code Act. The province sets qualification requirements for designers and installers, and the Ontario Building Code includes roof drainage and storm water provisions that municipalities enforce. Some Ontario municipalities, Toronto among them, add sewer use bylaws that restrict downspout connections.
British Columbia adopts the national codes through the BC Building Code and BC Plumbing Code, with provincial amendments. Vancouver adds rainwater management requirements that push toward on-site retention and away from direct sewer connection. Coastal rainfall intensities are high, so BC designs often carry more capacity than an equivalent roof in the interior.
Alberta, Quebec and the Atlantic provinces each adopt the national codes with their own amendments. Quebec's construction code and the Régie du bâtiment du Québec add another layer, and Bill 101 governs the language of the contracts and documents you issue there.
In the Prairies, snow load and ice damming shape design more than rainfall intensity does.
Northern Canada brings permafrost, extreme cold and short construction seasons into the picture.
A single national answer does not exist. The NBCC sets the floor, the province and the municipality set the ceiling, and your design has to clear the higher of the two.
Permitting runs through several levels of government. The federal permits, licences and regulations portal is a reasonable starting point before you register in a new province.
What gutter drainage installation paperwork proves at inspection
An inspection is a documentation exercise as much as a physical one. The inspector wants to see that you designed to the local rainfall intensity, selected a trough and downspout that carry the design flow, installed at a slope that works, and discharged the water where the bylaw allows.
Use this checklist before you call for inspection:
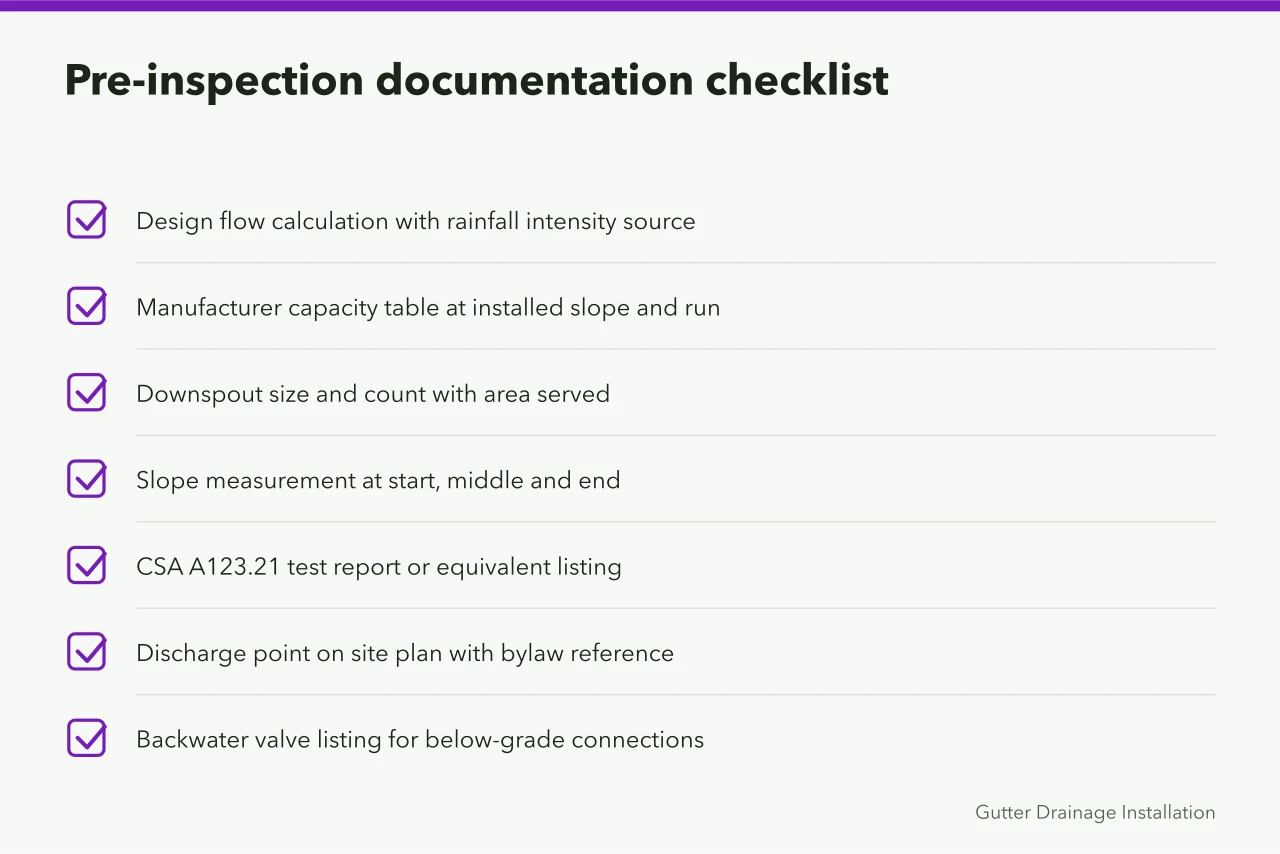
Build the file as you work, not the night before inspection. Photos with a tape measure, a level and a date stamp are cheap evidence.
A quality assurance checklist that mirrors the inspection list keeps the photos and calculations in one place. Use the same sheet on every job so nothing depends on memory.
Where a job crosses into plumbing, or where the municipality restricts storm connections, bring in a licensed plumber rather than stretching your own scope. The cost of a second trade is smaller than the cost of a failed inspection and a reopened wall.
Homeowners preparing for a permit should ask for the design flow figure and the discharge point in writing. A contractor who can produce both is working to a standard. One who cannot is guessing, and the guess shows up in the first heavy rain.
New owners can map the whole sequence against these opening requirements before the first inspection call.
Common questions
Does the NBCC give a specific eavestrough size for my roof?
No. It sets the performance requirement and references standards and manufacturer data. The size comes from your design flow calculation matched to a published capacity table.
What rainfall intensity should I design to?
Use the figure your provincial code or local authority specifies for the correct return period and storm duration. It varies by region, so do not borrow a number from another city.
Can I connect a downspout to the storm sewer?
Sometimes, if the National Plumbing Code, your provincial plumbing code and the municipal bylaw all allow it. Many municipalities now require disconnection or on-site retention instead. Confirm with the authority that issues the permit before you dig.
What paperwork should I have ready for inspection?
Design flow calculations, the manufacturer's capacity table, slope measurements, the CSA A123.21 report or listing, and the discharge point with its bylaw reference. Keep them in one file.